JavaFX on Raspberry Pi: GPIO Controller (Part1)
I have started a new leisure time project with my Raspberry Pi.
Target: control the outside lighting around my house (yes, magic words these days: HOME AUTOMATION).
But let’s see how far I will get ;-).
Until now I created a very simple JavaFX UI to control and test the 8 GPIO-out pin states:

Table of Contents
But first lets have a look at the setup:
Used Hardware
- Raspberry Pi: get one here
- Adafruit Pi Cobbler Breakout Kit for Raspberry Pi: get it here
- Arduino Sidekick Basic Kit: get it here
System setup
- Wheezy Image: http://www.raspberrypi.org/downloads
- Very good reference to setup the SD-Card: http://elinux.org/RPi_Easy_SD_Card_Setup
- Install JDK 8 (with JavaFX) for ARM Early Access: http://jdk8.java.net/fxarmpreview/javafx-arm-developer-preview.html
Construction
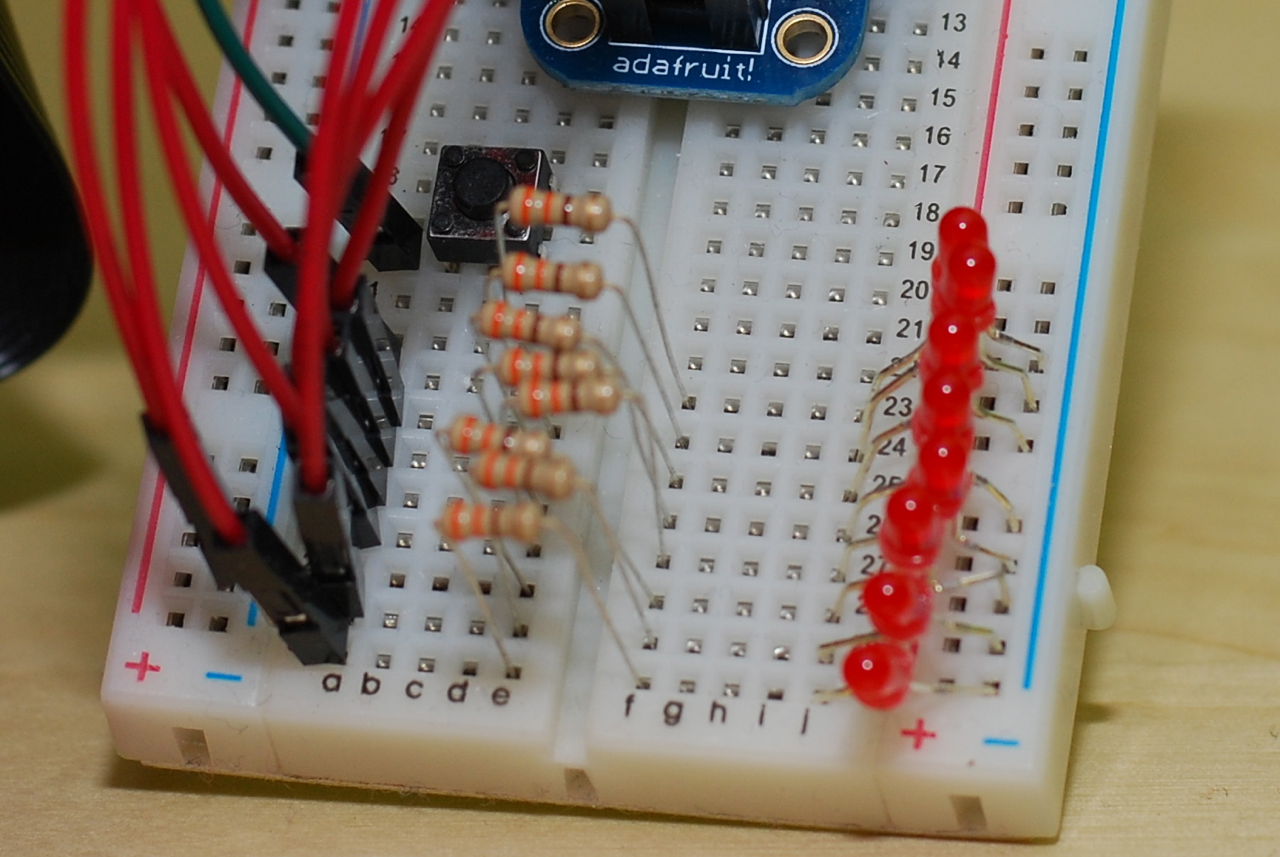
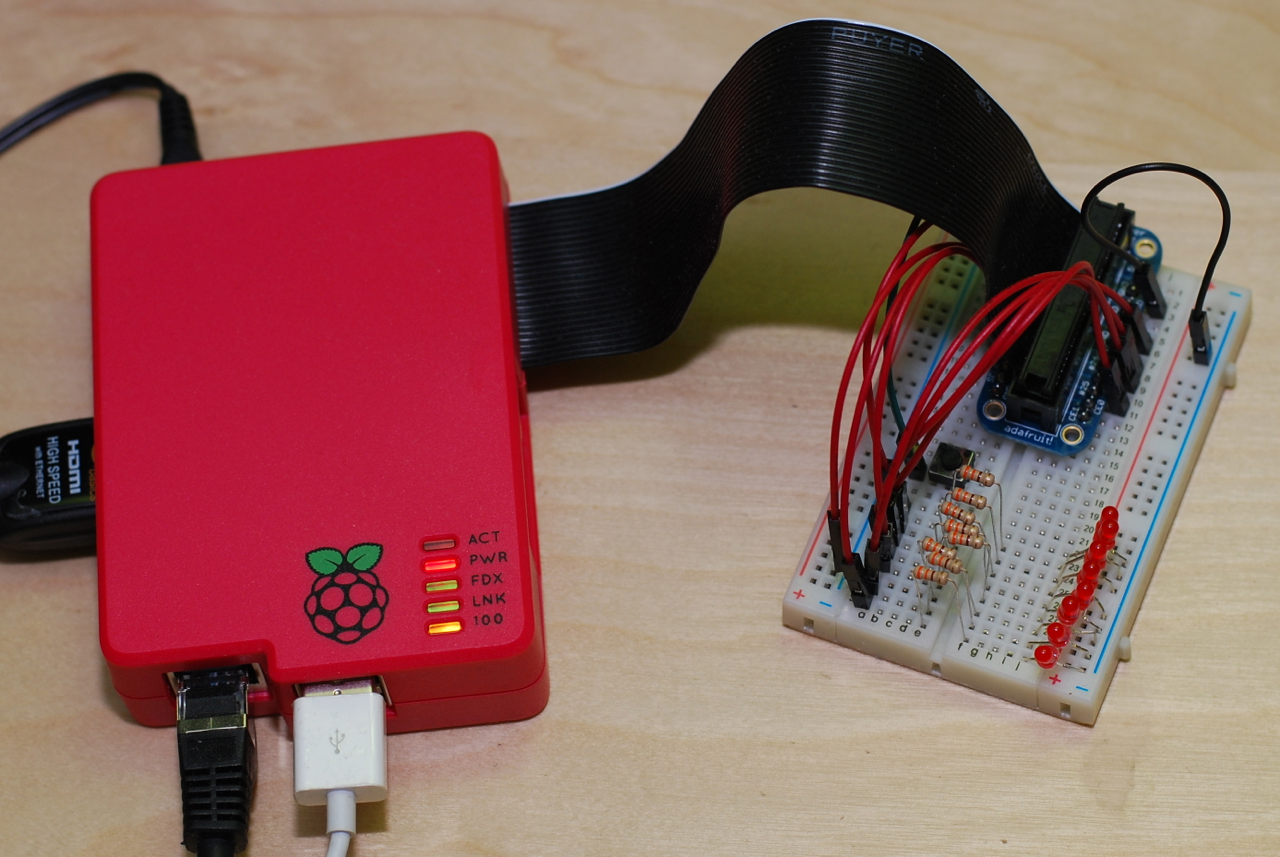
So I armed myself with a soldering gun, brazed the Adafruit Pi Cobbler and sticked together the electical parts on the bread board according to the pin numbering:

(Source: pi4j.com)
Missing something… the code did you post it somewhere?
Did you read the other parts? Let me know if there is something missing or you need more Informations!
Useful blog website, I am seriously interested to find out another recommendation of it, can i share it?
what Pi Cobbler Breakout Kit for Raspberry Pi?